Hello Lovelies,
Welcome to my first tutorial on highlighting and contouring. When it comes to makeup the first thing I am always asked for help with is how to create a smokey eye. The second question I am always asked as a makeup artist is how to highlight and contour the face. I could probably write seven or eight posts on just this topic alone because I love it and every girl I know wants to find the best ways to achieve to a defined and sculpted face. Going forward, if you see ‘H&C’ in this post that is my snazzy shorthand for ‘highlighting and contouring.’ The technique I am using in this post will work for any skin tone and with some practice can be easily mastered.
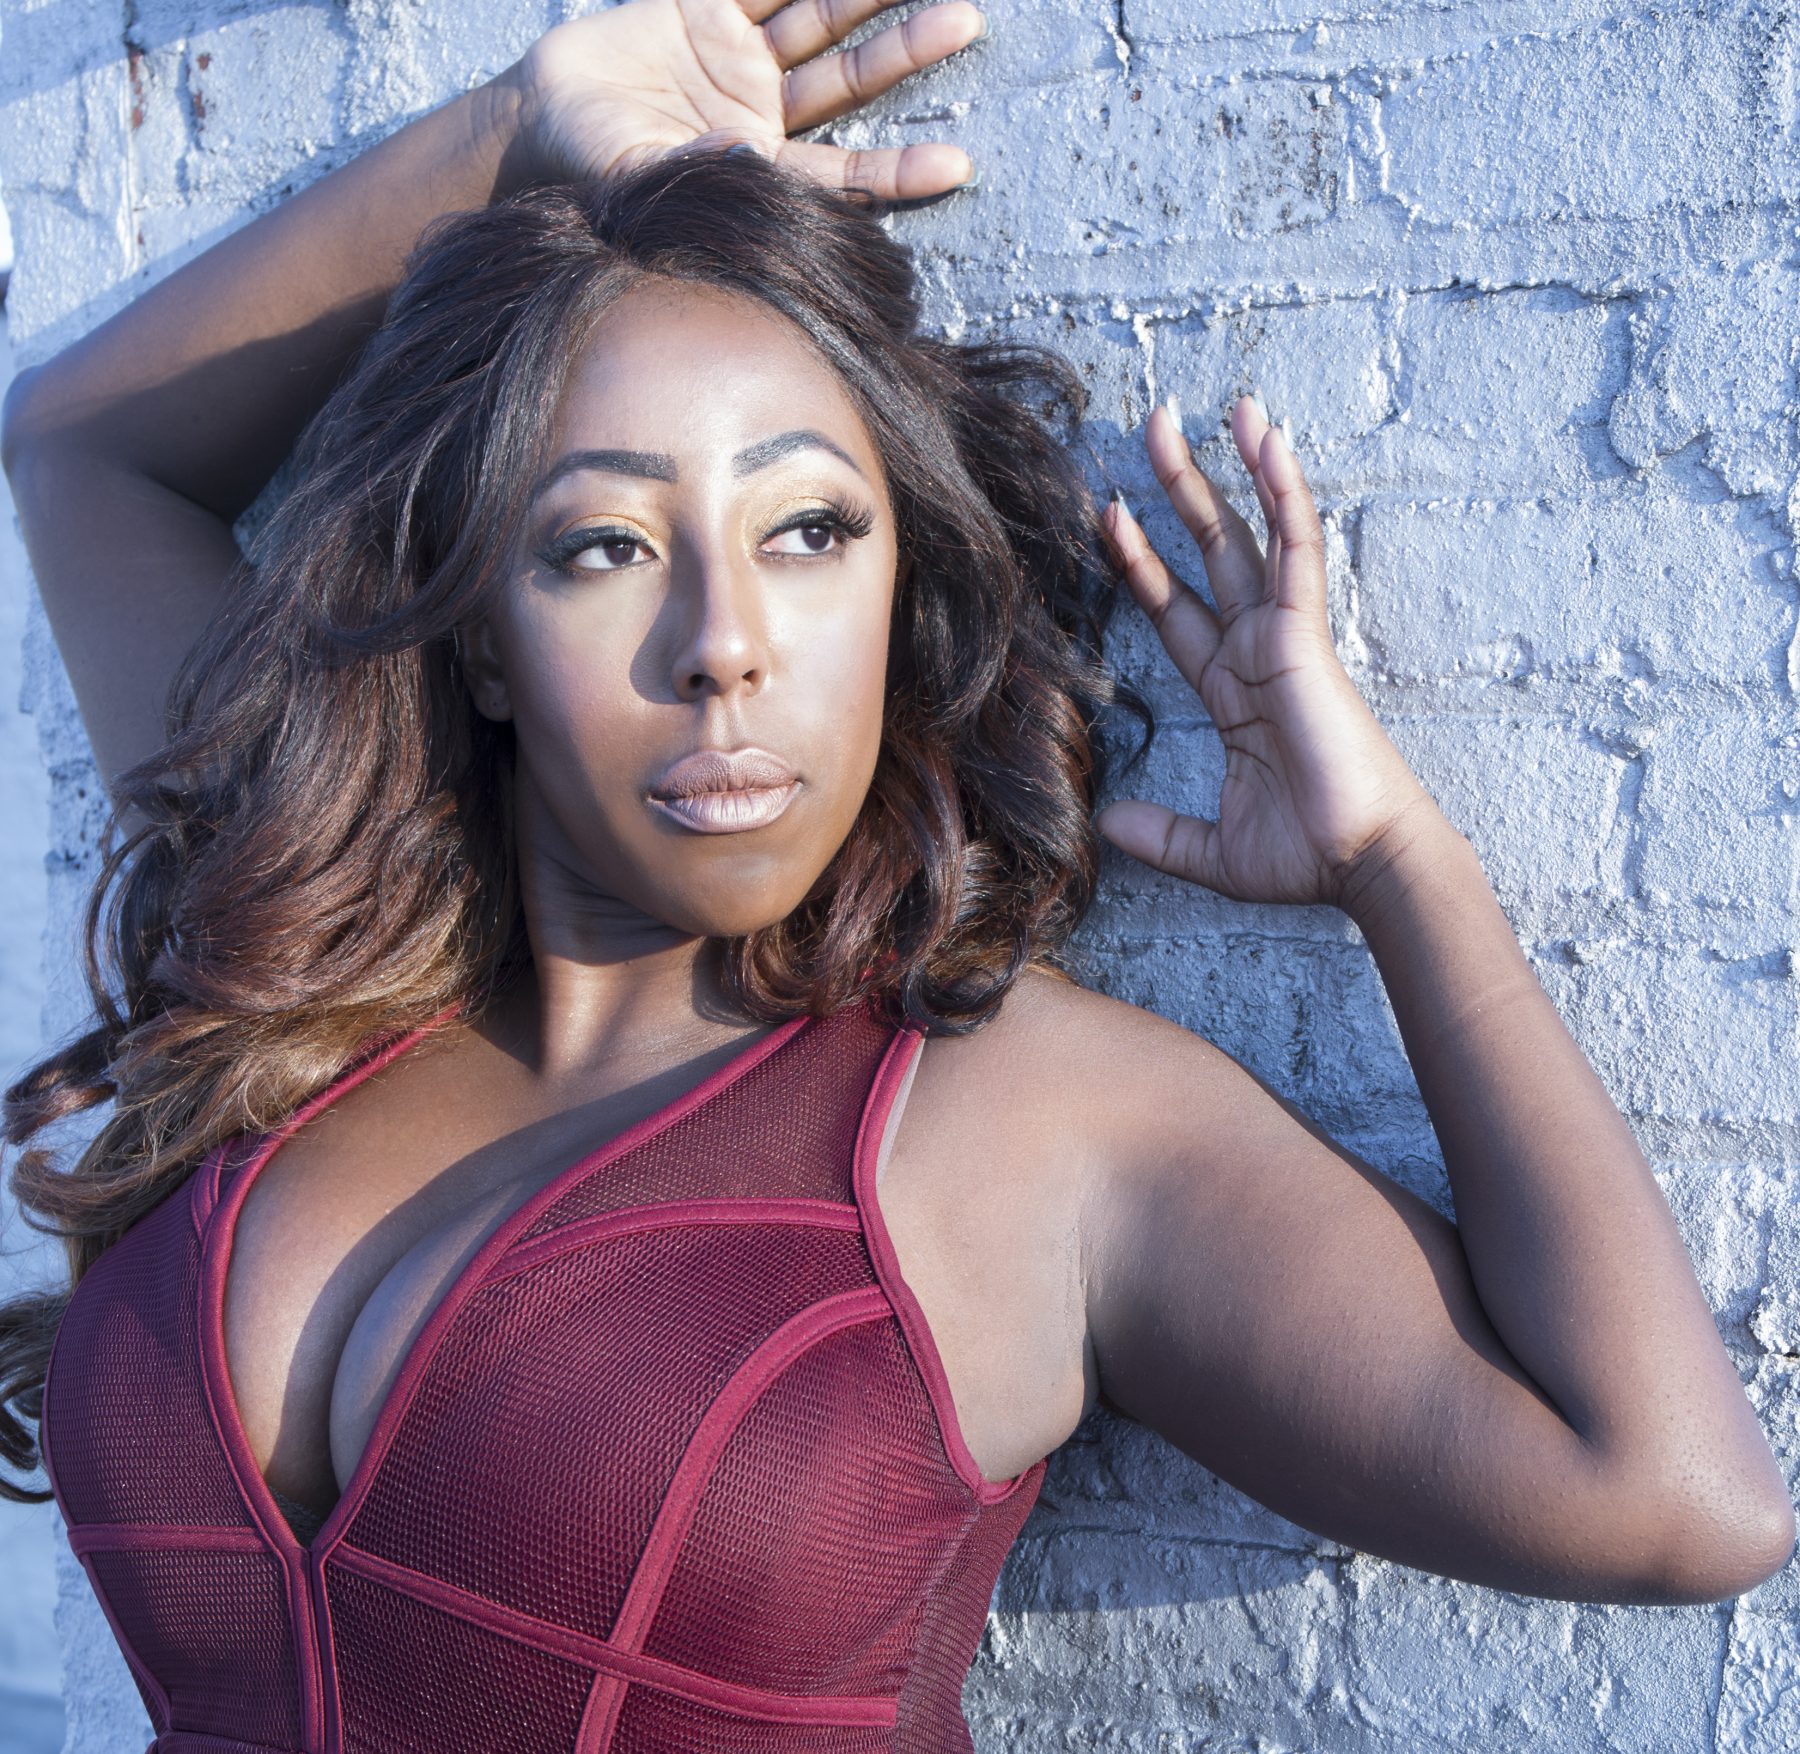
Kim Kardashian (who I just love!) is the celebrity best known for her gorgeous, glamorous H&C. There are different ways to achieve the look and there are varying levels of intensity just like creating a smokey eye. In this tutorial I am going to focus on a few basic steps in addition to some of my favorite products that you can use to achieve the look.
For this look I will be using the following products which can all be found at you local Sephora stores or sephora.com.
- Beauty Blender Sponge.
- Tarte Slenderized Bamboo Contour Brush.
- Kat Von D Shade & Light Palette.
- Laura Mercier Flawless Contouring Palette.
- Becca Ultimate Coverage Concealing Creme.
- Nars Blush in Amour.
STEP ONE: Start with fresh foundation
Start with a fresh clean face that has been moisturized. Apply your primer and liquid foundation normally. Make sure your foundation matches you as perfectly as possible so you can have an even and natural complexion. At the moment I am using Becca Ultimate Coverage Complexion Creme in Tobacco. At this point I set my foundation lightly with a translucent powder. My standard favorite, that is always in my makeup bag, is the Laura Mercier Universal Loose Powder.
STEP TWO: Create depth with a complexion cream that is two or more shades darker than your skin tone.
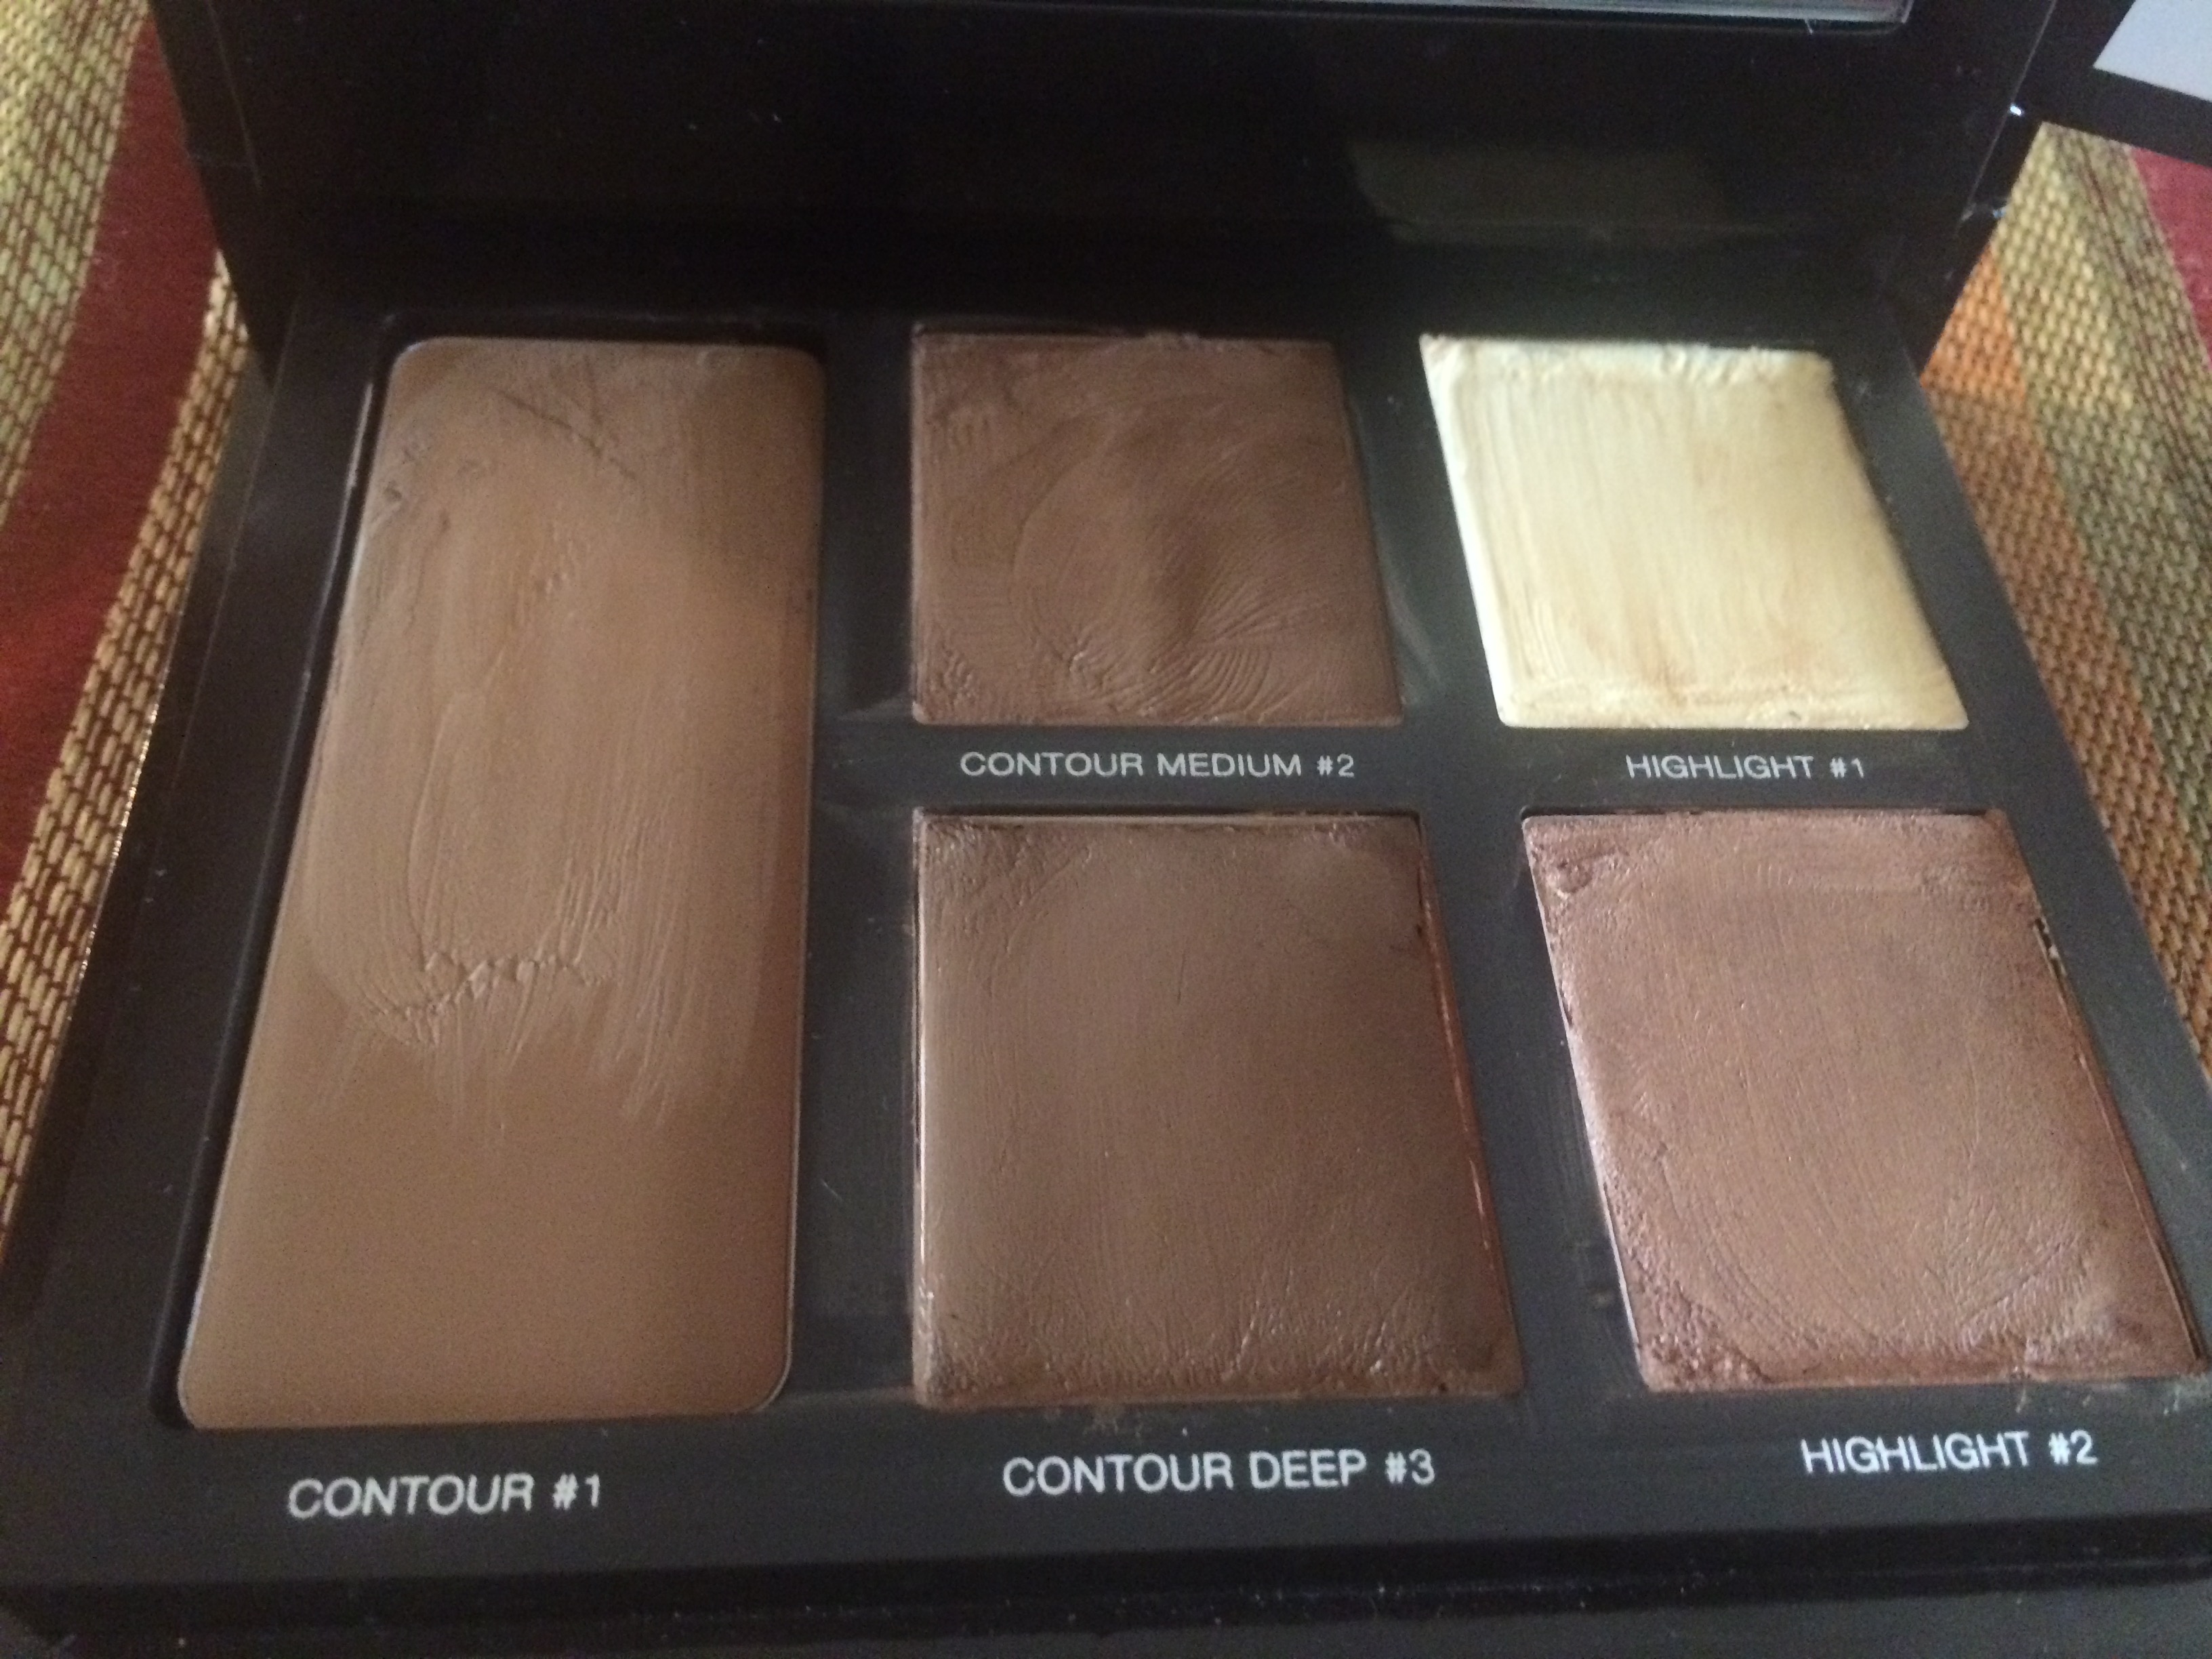
This is where is the magic happens. When we “contour” we apply a complexion cream that is two or more shades darker than your skin tone. We are using the darker color to create depth and shadow on the face. We can also minimize features and slim the face shape. I absolutely adore the Laura Mercier Flawless Contouring Palette. It has three contouring creams and two highlighting creams. This palette can work with all skin tones and comes with easy to follow directions help you learn H&C technique and how to use the product. The fact that many brands are now including directions for specific looks makes learning makeup easier and adds values to the product in which you are investing. Using a synthetic shadow brush I applied the darkest contour cream on the sides of my nose, my forehead, in the hollows of my check, and my jawline. These are the places on the face we want to “pull back”. The art of contouring employs the concept of light vs. dark. A darker color will recede an object and a light color will bring it forward or make it more prominent.
STEP THREE: Bring light to the center of the face.
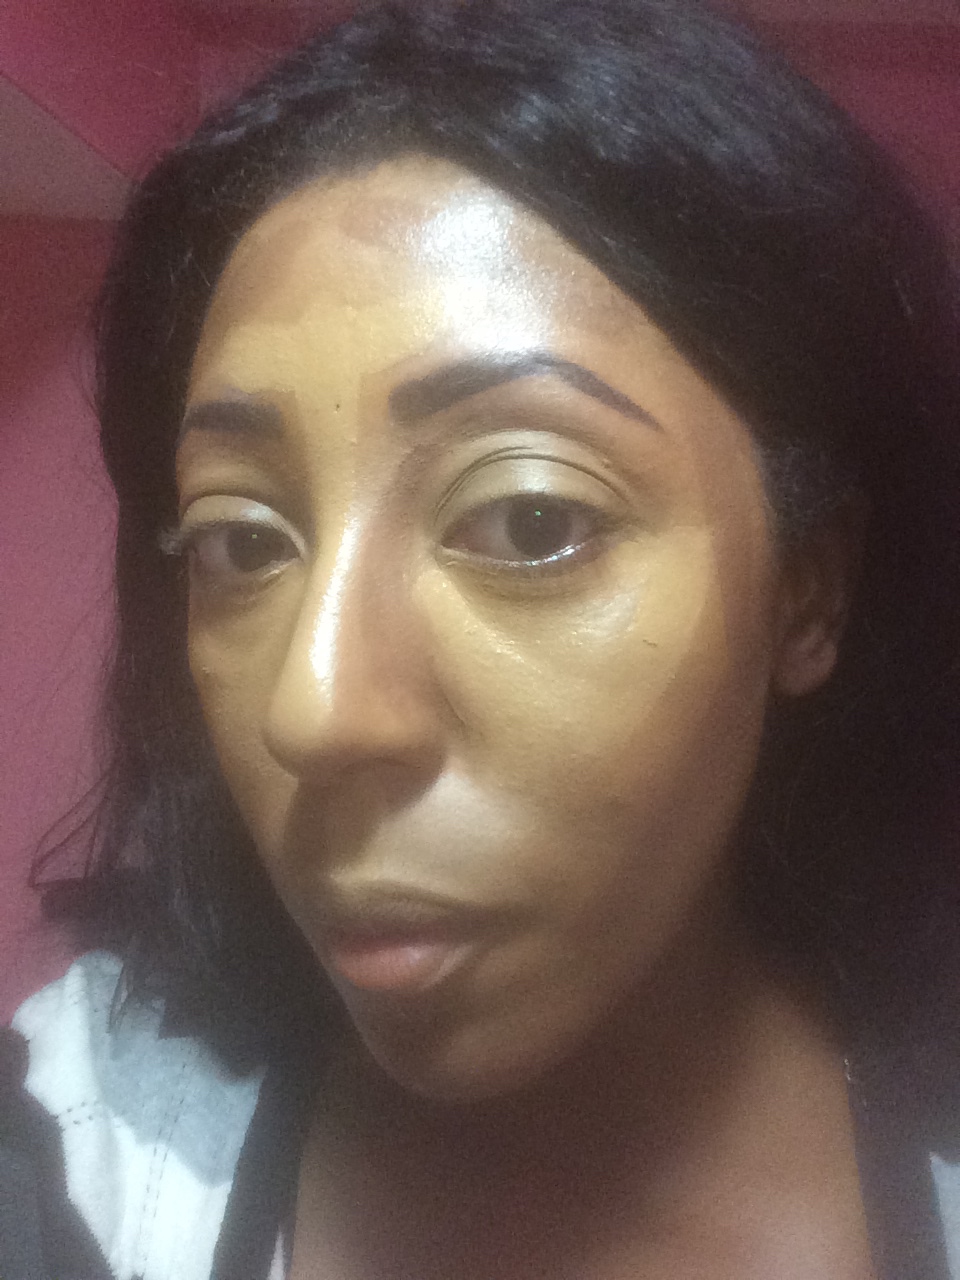
Highlight under the eyes and the center of the face.
Notice where the darker colors are placed.
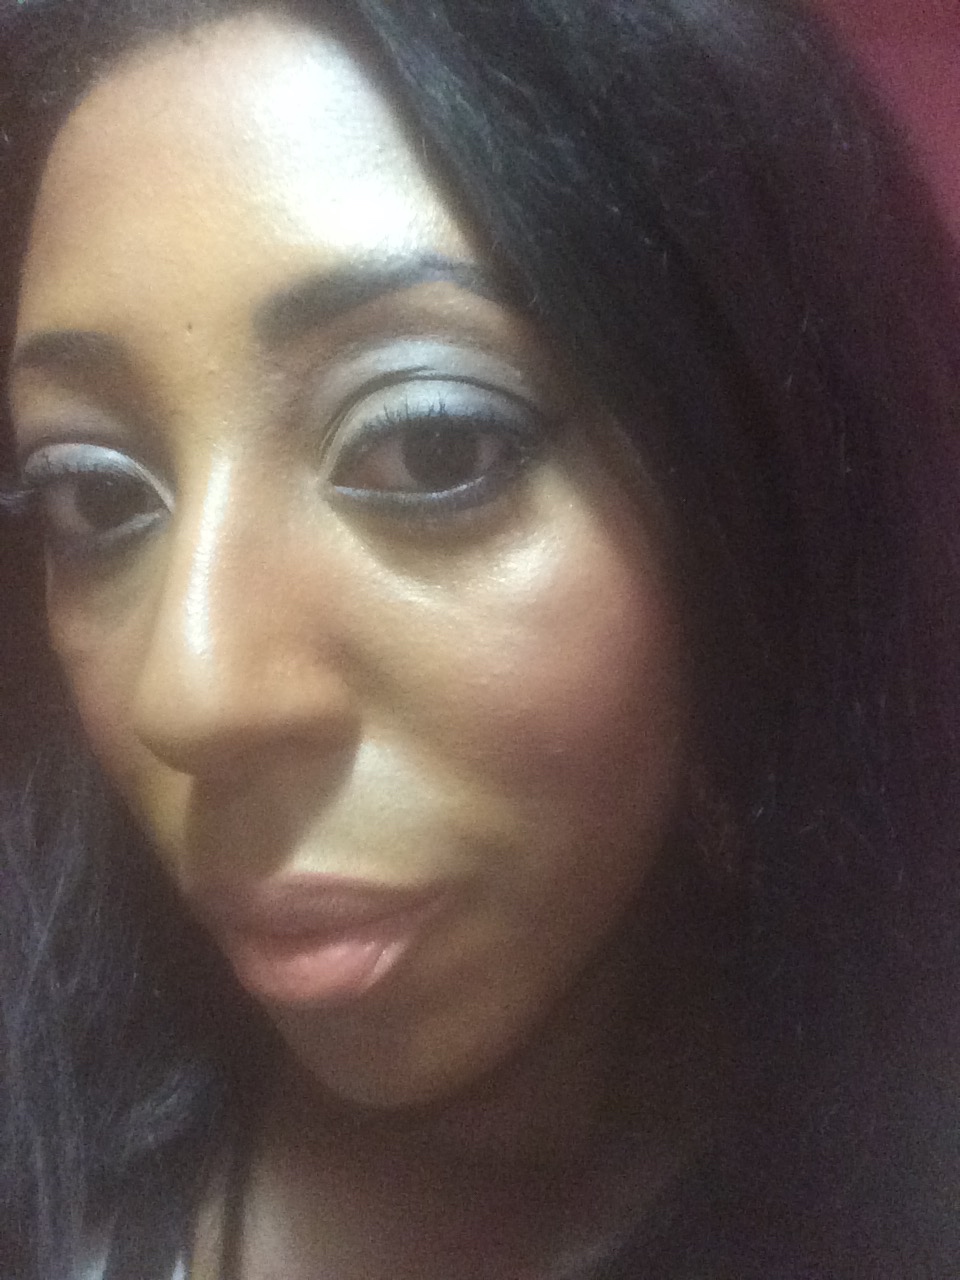
Now we move on to our concealer. Your concealer should be at least two shades lighter than your skintone. I’m using the color Syrup in the Ultimate Concealing Cream. Using a concealer brush I draw a “tree” down the center of my face. I start at the center of my forehead the draw a line down the center of my nose. Notice how it branches out in the center of my forehead. That’s why I call it a tree. Then I draw a v-shape under the eyes and towards the temples. This concealer is joy to use because the texture is incredibly smooth and it gives outstanding coverage.
STEP FOUR: Blend, blend, and then blend some more.
I suggest you blend out your face one section at a time. I usually like to start blending my darker colors first with my beauty blender. Gently blend the dark contour cream until there are no more harsh lines. Take a second beauty blender sponge and start blending in your concealer. At this point you will see the look start to come together.
STEP FIVE: Set and Soften the face.

Kat Von D
Now it’s time for the Kat von D Shade and Light Contour Palette. This is a powder contour palette with three highlighting shades and three contouring shades. I used the darker shades to set my contour and the lighter shades to blend and set my concealer. I have noticed that whenever I set my face with this product my concealer stays perfect all day with no creasing. I also use these shades on my eyes for a soft matte eye look.
STEP SIX: Blush and Highlight.
At this point you might be asking which one is better, the cream contour palette or the powder contour palette? The short answer is that they are both great and you could use them separately. The full explanation is that you could use either one but you get better results when you use them together. The Laura Mercier Palette provides a creamy blendable base and the Kat Von D Palette will set and further deepen your contour.
I recommend the Shade and Light Palette because the undertones are cooler and give a more natural looking contour than a bronzer. I have seen many tutorials where bronzer is used to contour the face. When you use trying to create a this look you are trying to create a shadow. Shadows are not warm and golden. Your bronzer will give you a warm glow, so save this step for after you have set with the Kat von D Palette.
I use the pinky-gold highlighting cream from the Laura Mercier Palette as a cream blush on the apple of my cheek and then I applied my Nars Blush. I like using the creamy highlighter under blush for a pretty backlight effect, and it makes my blush more intense. I applied a small amount of the gold highlighter in the palette as a highlighter on the cheekbones and down the bridge of my nose. With my big flush powder brush from Real Techniques I lightly dust some translucent powder on the perimeter of my face and around my mouth and nose as a finishing touch.
This tutorial is just the first step to get you started and I will be featuring more posts with my favorite H&C products with more fun tips and tricks. Follow me on Instagram(@sagebeautyblog) and keep in touch on Snapchat (sagebeautyblog).
Stay Beautiful
xo
Lily

Looks great! I love cream highlighting and contouring